Photography Techniques
Photographing the night sky.
Planning, focus and exposure for stars and the Milky Way
A darker sky helps. A clear plan, careful focus and a few test frames help you make something of it.
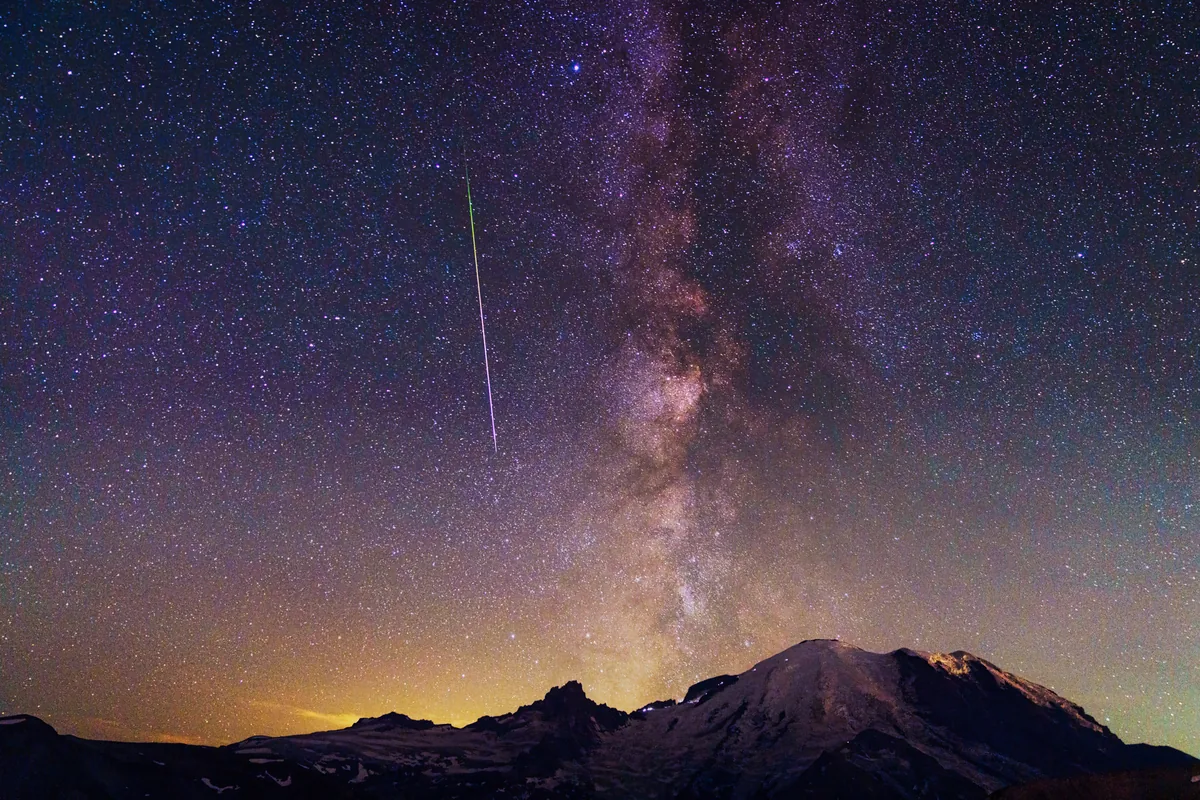
What I like about photographing the night sky is the relationship between something familiar on the ground and the much larger scene above it. In the photograph here, Mount Rainier gives the stars a place to belong.
I first published an earlier version of this guide in May 2024 as “Tips for Capturing Stunning Night Sky Photos.” This updated version keeps its practical starting point, but makes an important distinction: there is no single exposure, moon phase or time of night that works for every subject.
The advice below is for wide-field stars and Milky Way landscapes using a camera on a stationary tripod. A close-up of the moon, deliberate star trails or telescope-based deep-sky imaging needs a different approach. The settings discussed are starting points, not the recorded settings of the photographs on this page.
01 / Find a sky worth working with
Look beyond the nearest dark patch on a map.
Light pollution can hide faint stars and wash out the Milky Way. A darker location helps, but distance from a city is only part of the decision. Look at the direction you will photograph, too: a bright town beyond your foreground can still light up the horizon.
A tool such as Light Pollution Map can help you explore darker areas, while maps or satellite imagery help you understand the surrounding terrain. Treat those as planning tools, not guarantees of clear skies or public access.
A recognised dark-sky site can be a useful starting point. For any park, coast or mountain location, check current opening times, road access, weather and overnight restrictions with the land manager. Scout in daylight where possible, and plan how you will return safely. At the coast, that includes checking tides and staying clear of hazardous surf.
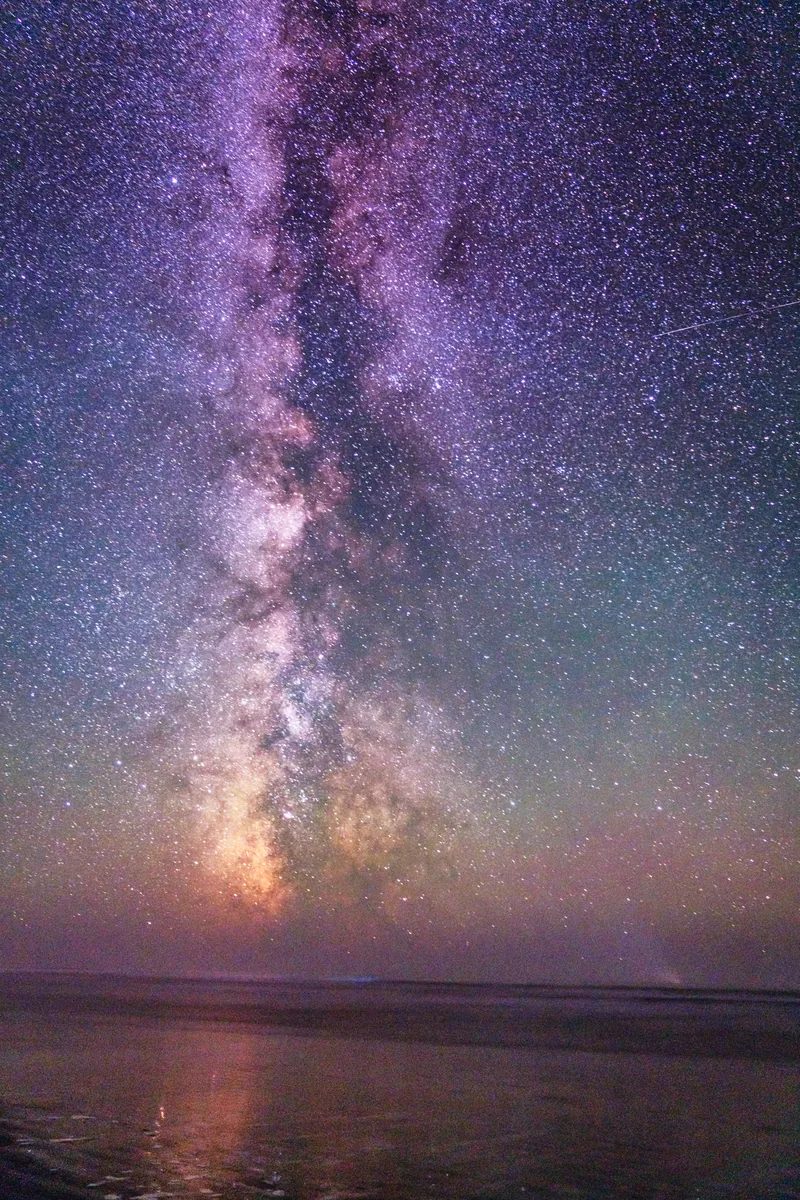
A small strip of land gives the sky most of the frame.
02 / Plan the darkness, not just the sunset
The moon changes the photograph.
For a prominent Milky Way against a dark sky, a moonless window is a good starting point. That might be near new moon, or after the moon has set on another night. Check moonrise and moonset as well as the phase.
Moonlight is not always a problem. It can illuminate a landscape when the foreground matters more than the faintest stars. Choose the balance you want rather than treating new moon as a requirement for every night photograph.
For faint stars, plan for astronomical darkness, where it occurs. Golden hour, blue hour and darkness are different lighting conditions; the minutes just after sunset are not a substitute for a fully dark sky.
PhotoPills helps me plan the sky and light; Clear Outside helps me check cloud forecasts. The Milky Way's position changes with the date, time and your location, so check the alignment rather than assuming it will be above your chosen foreground.
03 / Keep the setup dependable
A steady camera comes first.
A camera with manual exposure and RAW capture gives you useful control. A wide-angle lens with a large maximum aperture, such as f/2.8 or wider, is helpful, but it is not a requirement for beginning. A slower lens simply changes the compromises you make.
Use a stable tripod, check that the head is locked, and avoid extending a centre column more than necessary. A remote release or the camera's self-timer lets vibrations settle before the exposure. Bring charged batteries, spare memory, a lens cloth, warm layers and a headlamp. Keep lights directed away from other photographers and the scene they are exposing.
You can find my current equipment on the photography FAQ. That is my present kit, not a claim that every item was used for these older photographs.
04 / Make a test frame, then inspect it
Settings are a starting point, not a recipe.
Aperture: start wide, then check the stars.
A large aperture gathers more light. Start near the lens's widest setting, then inspect the corners. If stars look badly stretched or distorted, stopping down slightly may improve them, at the cost of light.
Shutter speed: calculate for your camera and lens.
A fixed 20–30-second recommendation is too broad. The time before stars visibly trail depends on focal length, camera resolution and the part of the sky in the frame. Use the PhotoPills Spot Stars / NPF calculator as a starting estimate, then inspect a test frame at high magnification. Shorten the exposure if you want points of light and are seeing streaks.
ISO: judge the result, not just the number.
ISO 1600–3200 is a reasonable test range for many cameras, not a universal optimum. Set aperture and shutter duration for the light and star movement first, then adjust ISO while watching the histogram and bright areas. Increasing ISO does not collect more light; the aperture and exposure time control that.
Focus: use a star, not the infinity mark alone.
Use magnified live view on a bright star and adjust manual focus until it looks as small and sharp as possible. Do not simply turn the lens to its infinity stop. Check the captured frame, and recheck after a lens change, an accidental touch or a significant temperature change. A sharp sky does not guarantee a nearby foreground is sharp.
05 / Work with the file you captured
Bring out detail without losing the night.
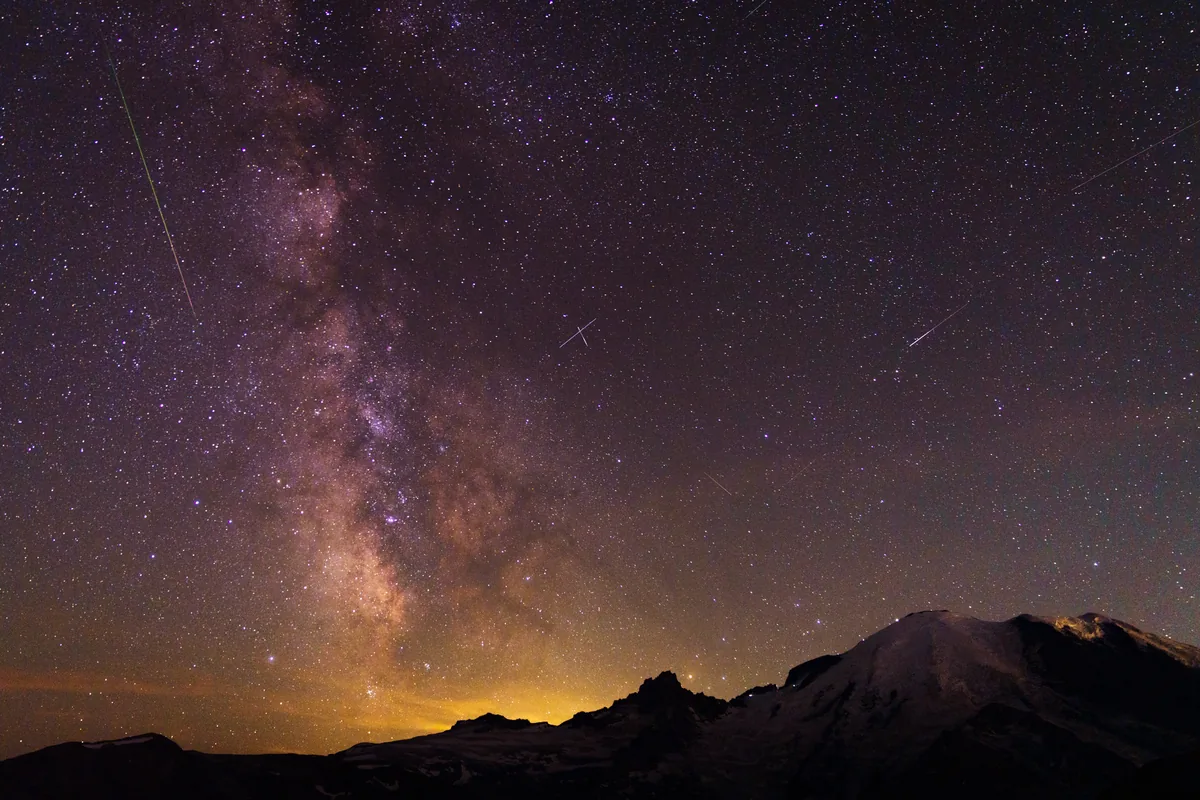
I shoot RAW and use Lightroom Classic as my main editor. For a night-sky image, a useful starting point is a careful white-balance adjustment, followed by exposure, contrast and restrained noise reduction. Watch for clipped highlights and for noise reduction that turns small stars into smudges. An editing tool cannot recover detail that was never recorded.
Stacking several aligned sky exposures can reduce random noise. With a landscape in the frame, remember that the stars move while the ground stays still: aligning everything to the stars can blur the foreground. Software with landscape-aware alignment or a separately handled foreground may be needed. DeepSkyStacker is aimed at deep-sky work; it is not automatically the right choice for every Milky Way landscape.
Stacking repeated sky frames and blending exposures made for different purposes are not the same process. If an image combines a separate foreground exposure, different times or a replaced sky, explain that treatment when it matters to how a reader understands the photograph.
Before you leave, and before you pack up.
Before leaving home
- Confirm access, the return route and the weather.
- Check moonrise, moonset, darkness and your subject's position.
- Charge batteries and pack memory, warm layers and a light.
Before packing up the camera
- Check focus and star shape on a captured frame.
- Inspect the histogram and the foreground, not just the sky.
- Try another composition or adjust one setting at a time.
- Leave the location as you found it.
Start with one clear idea and one usable exposure. You do not need to solve every part of astrophotography on your first night out.
Further reading: PhotoPills' Milky Way guide, its NPF guidance, and its explanation of golden hour, blue hour and twilight.